Eclipse Ganymede is finally here. I downloaded the version for C/C++ developers to glance at the new features of CDT 5.0. The demo project I developed with Eclipse Europa opens and compiles without problems. An additional Eclipse plugin is required in order to execute and debug the application on a remote microcontroller target. I use the new update UI to install the required component. It is is very easy to use:
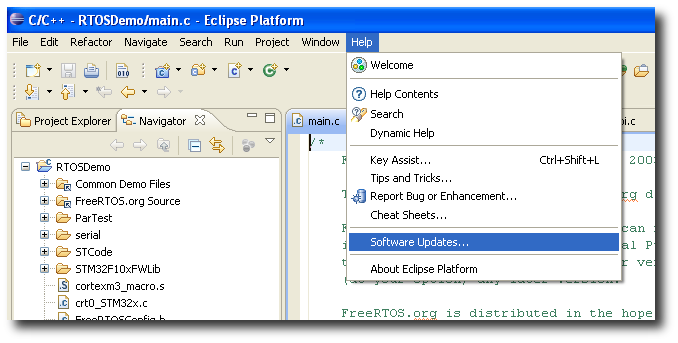
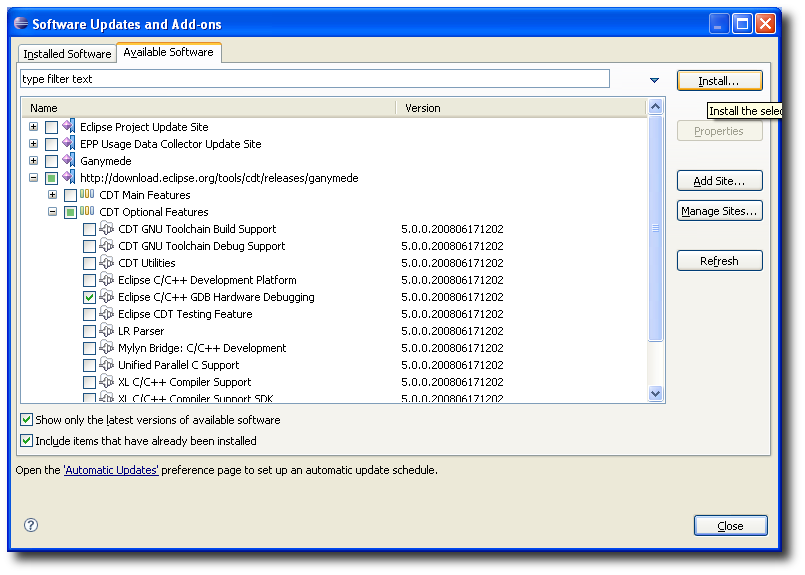
- Open the Software Updates and Add-ons dialog from the Help menu.
- Select the Eclipse C/C++ GDB Hardware Debugging option, click the Install... button and follow the on screen instructions to complete the installation.
I download the binary file as explained in the section 3.3 in the main demo page, and now I'm quasi ready to debug the application. I have to change the debug configuration before starting a debug session:
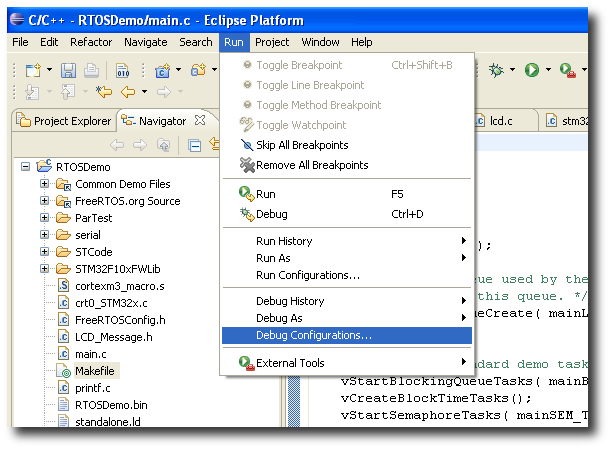
- Select the Debug Configuration menu item from the Run menu to open the Debug Configurations dialog.
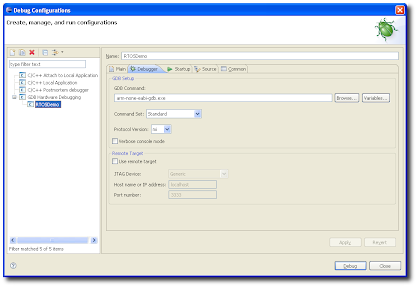
- Select the RTOSDemo configuration under the GDB Hardware Debugging group and configure the Debugger tab as shown in the below picture.
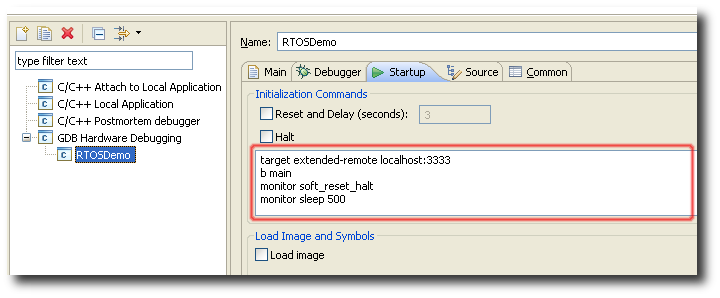
- Switch to the Startup tab, ensure that all options are unchecked and type the following GDB command in the Initialization Command field
GDB Initialization Commandstarget extended-remote localhost:3333
b main
monitor soft_reset_halt
monitor sleep 500
continue
clear main
That's all.
| 
